
April 5th
Modeling, Moderate, Product design, Tutorials
This article has been viewed 31656 times. You can leave a response, or trackback from your own site.

Help modeling air circulator


STEP 3
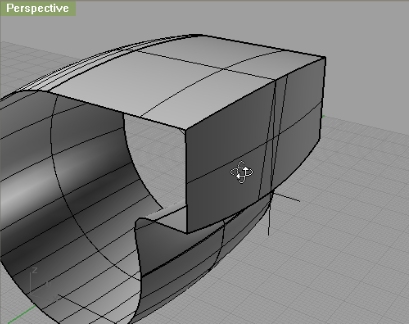
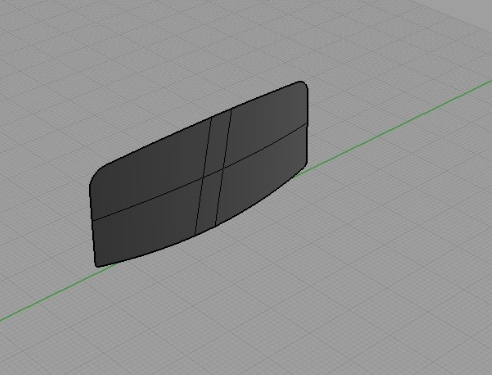
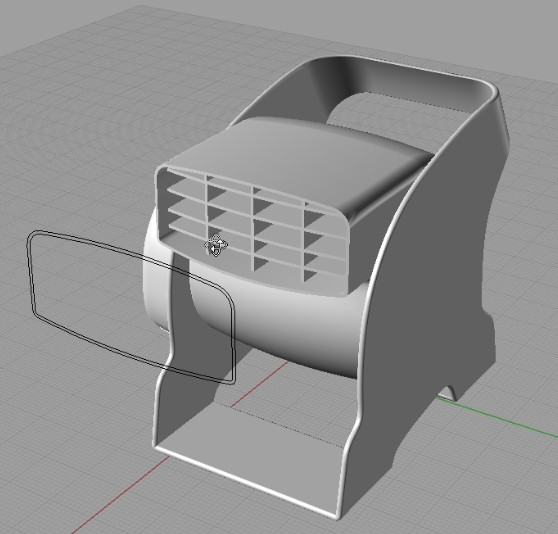
I have created two more planar surfaces, just to see the boundaries of my air circulator part. And, for trimming too. 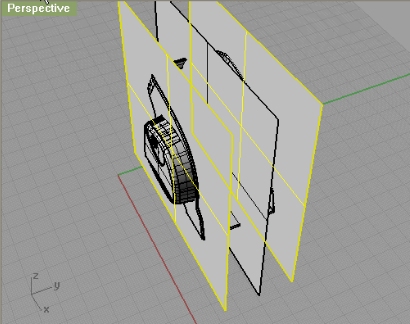
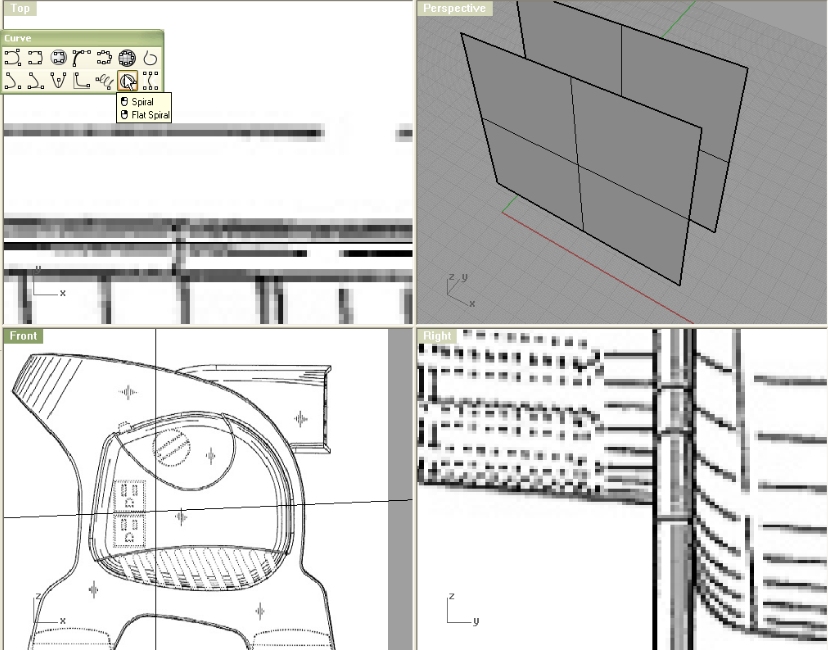
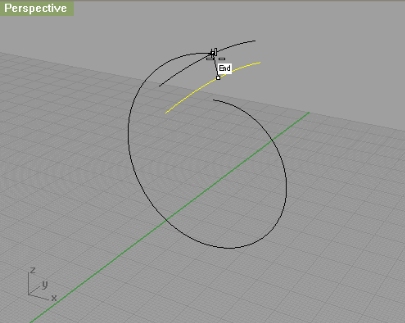
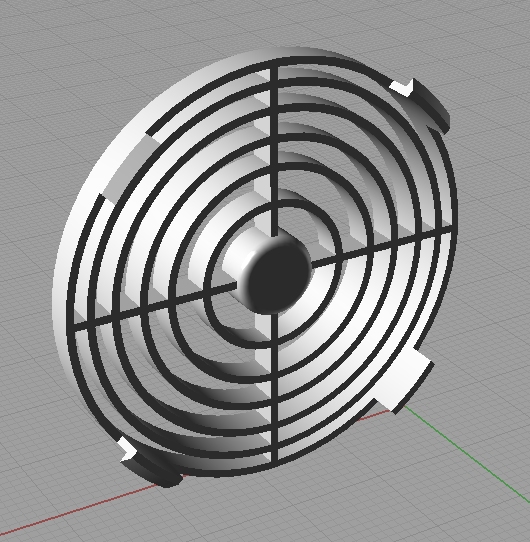
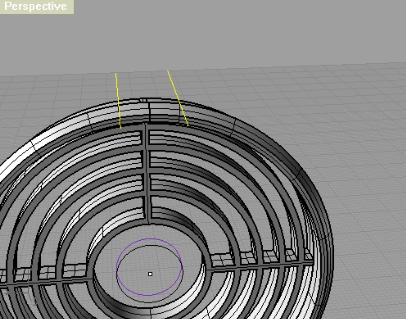
Using Flat Spiral make a spiral like on the image below:
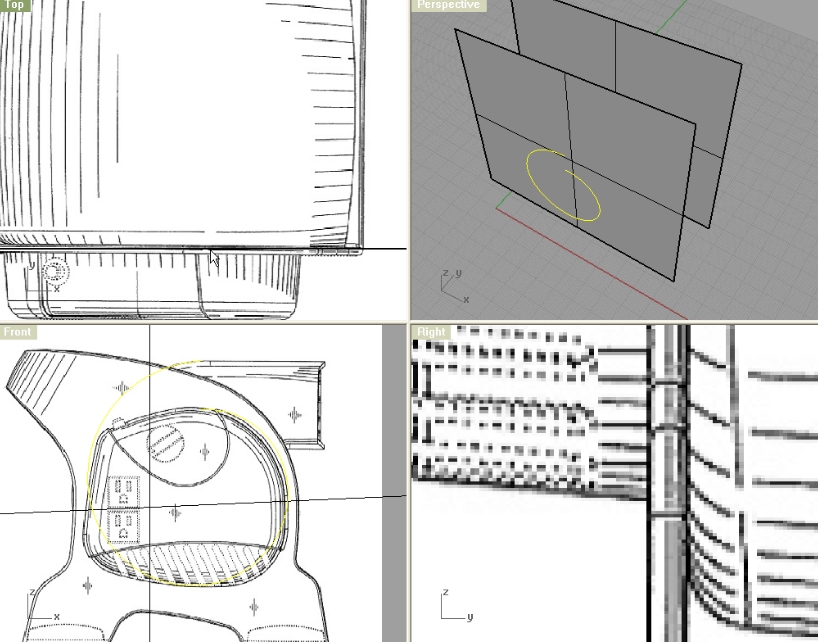
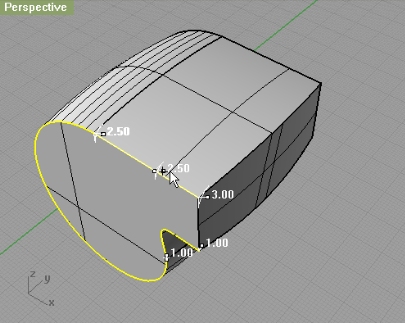
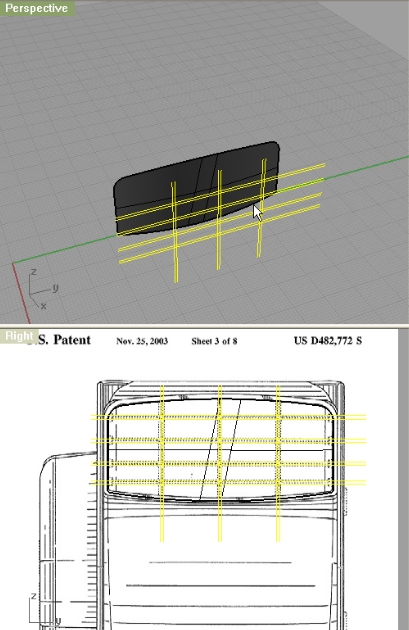
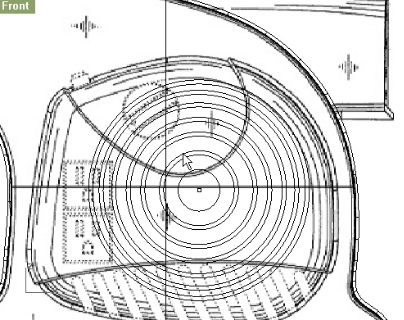
From top viewport create a curve like on the image below:
To make it a bit precise, you can split it by half (we have that surface on the middle we created a while ago) and mirror it, and after that you can rebuild it.
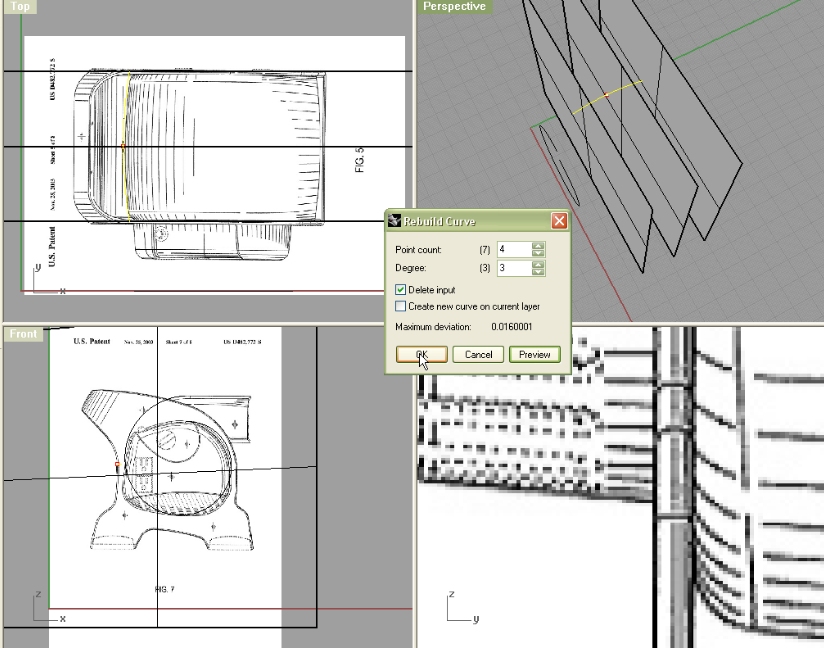
Now, I rotated it by 45 degrees right (from front) and positioned it in the middle.
(Note: this spiral is on the absolute middle of our object, I projected it on my middle planar surface)
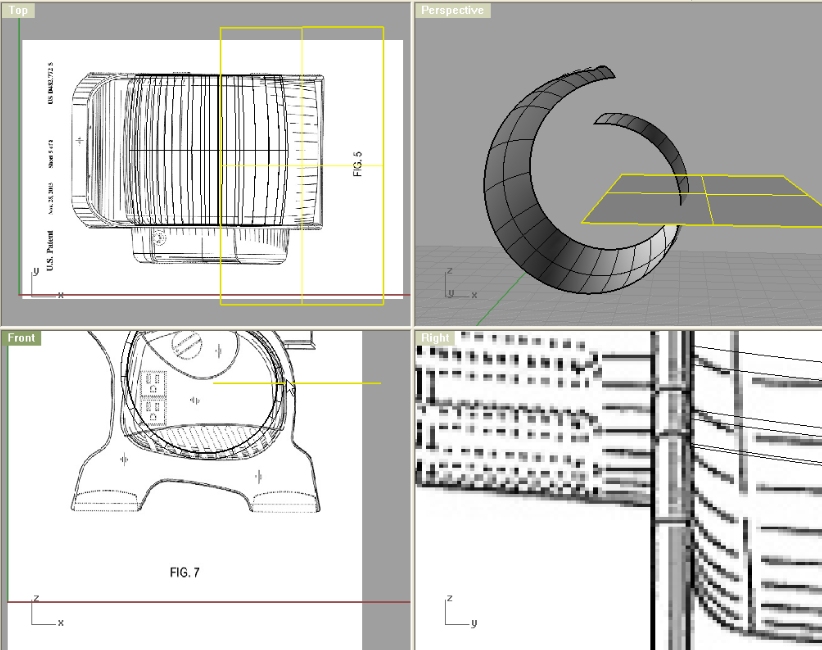
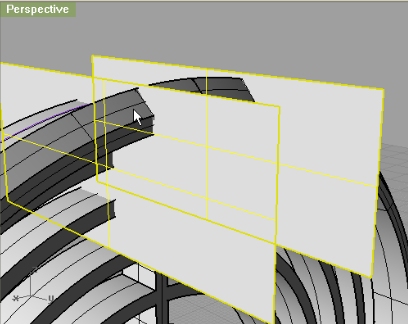
Now you can use Sweep1 and revolve this curve along the spiral. Now, create another planar surface from top viewport, and position it like on the image. We will use it for trimming.
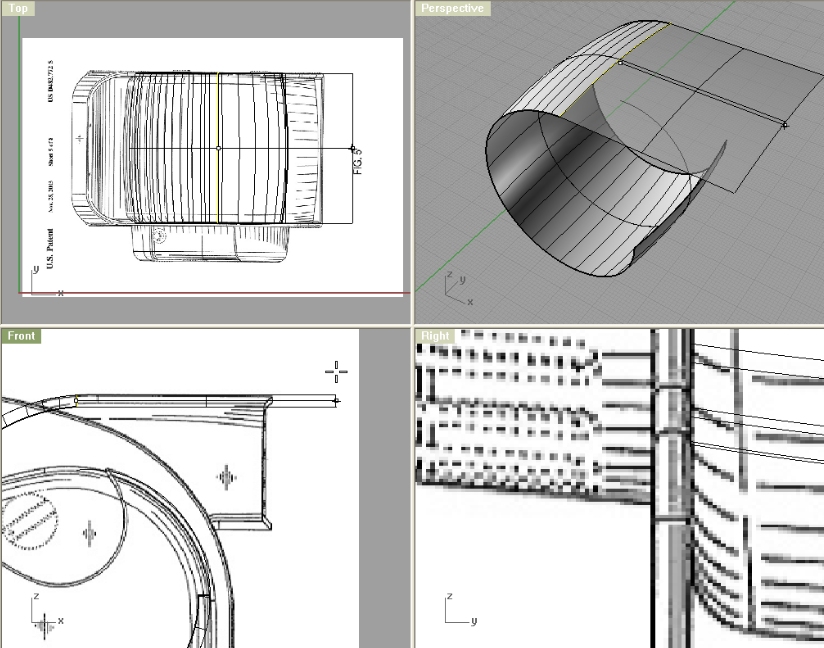
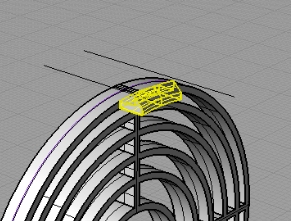
Now, trim what is above that planar surface. And extrude either edge of spiral surface, or you can use a curve there…
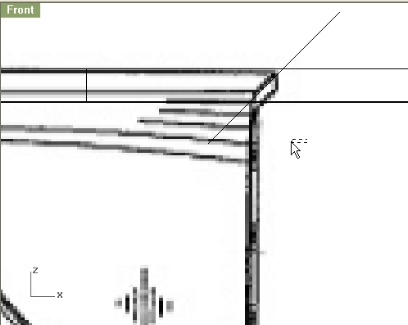
Make a line at 45 degree angle, and trim the surface under it. You do this in Front viewport only.
Now, create a line for bottom part, and copy the cross section curve, and position it on the beginning of the line.
Now either extrude or use sweep1 to make a surface.
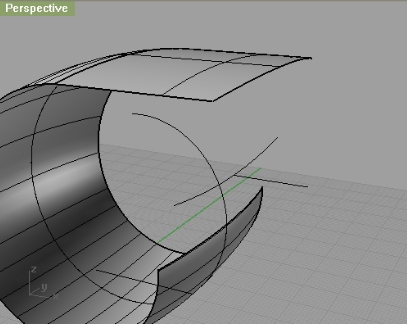
Again, create a line under 45 degree and cut the upper part of this newly extruded surface.Then, blend surfaces like on the image:
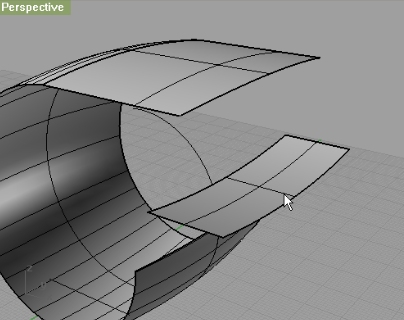
Next, of that last extruded surface, make a Duplicate Border, and explode that closed curve. Delete the curves we don’t need, and join two left curves. With loft, connect into surface that line and edge of the upper extruded surface.
With those two planar surfaces, we will close this surface into one object and join everything. (If you encounter problems with trimming, you can move the two surfaces to the inside a little, say 0.1 units. Just to make sure it really intersects our surface.
Now, we have here a nice whistle-like object. Next, we’ll need to fillet the edges. Please note that not everywhere are the same radii.
So, lets use FilletEdge comand and add few more Handles. Check the image below to see the radii. Do the same thing for the opposite side too.
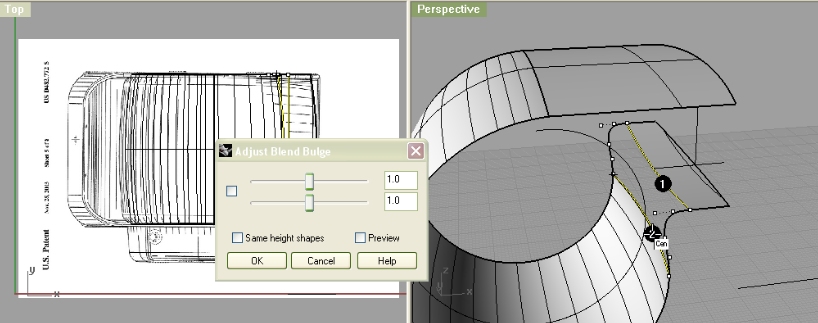
Now, duplicate the edges of front bent surface, create a planar surface from Right viewport, and project the closed curve (made out of DupBorder) to that planar surface. And then, offset that projected curve by 0.5 units, and extrude it.
Next, pay attention. We will need to trim this extruded surface with the surface it goes through, but we need to save the cut part. So, first we will use Split command to split the bent surface with extruded one, and then we will trim the extruded surface with split surface (either the “ring” one or the closed one). Hide the closed one.
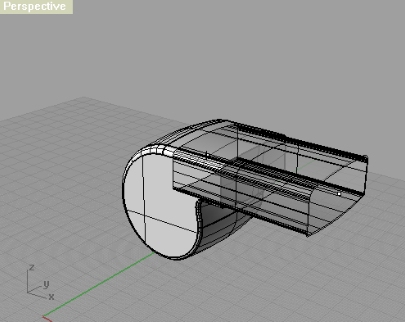
Now, hide everything except that bent surface:
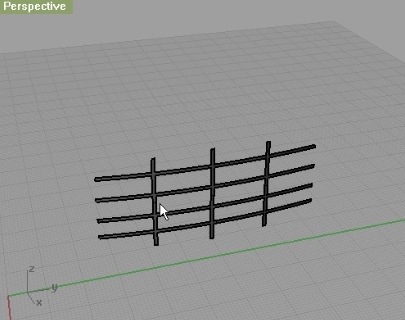
And from Right viewport start making the lines for the grill.
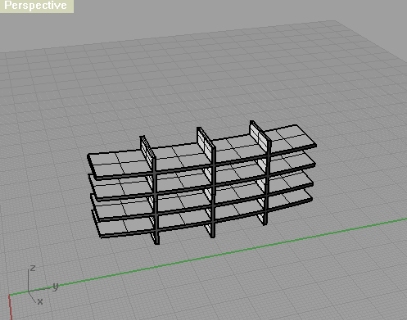
Now, extrude those lines, and trim with bent surface.
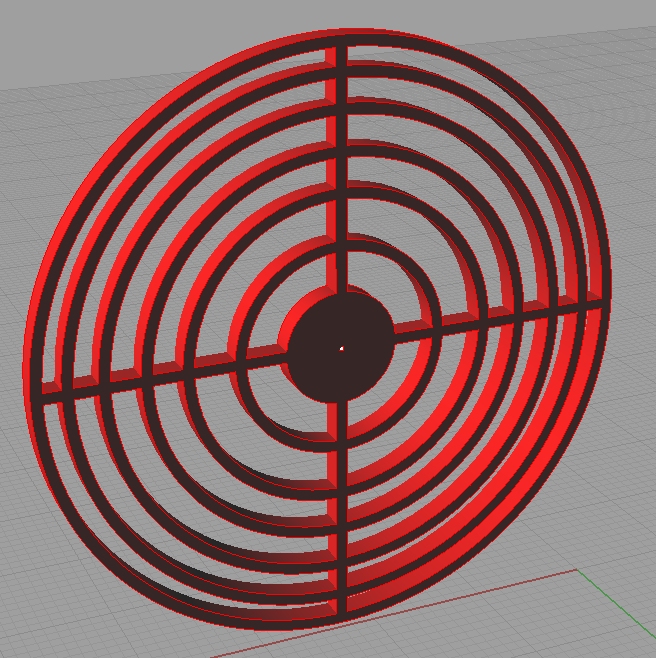
Now you have here a nice surface, which we will extrude. Yes, extrude surface (ExtrudeSrf). And move it a bit to the inside.
Step 4
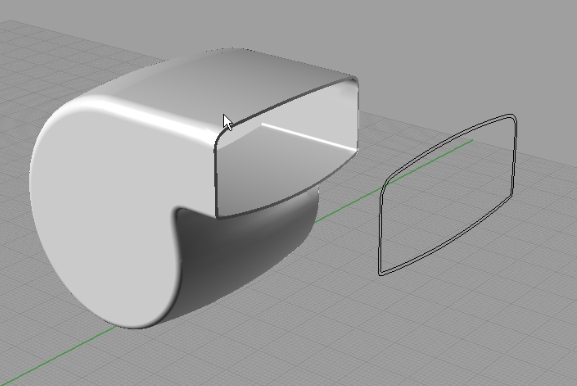
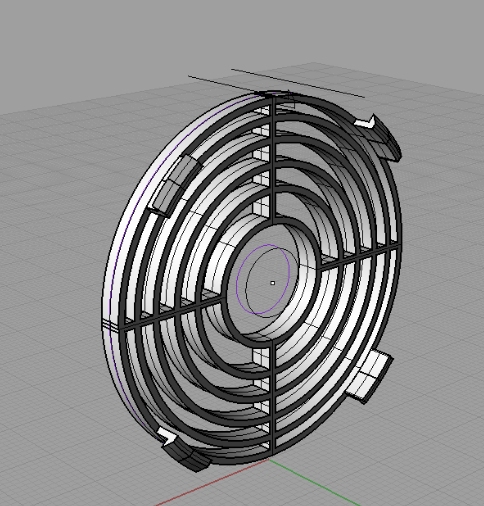
In this step we will make a grill on the other side of the air circulator. So, let me just show you how this step 4 should look like when finished.
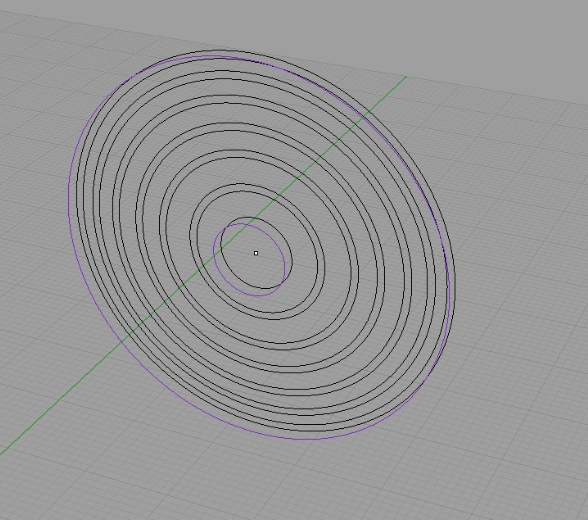
So first, from Front viewport you can set one point. Just for the reference of the center of each circle we will be making in a second.
Here are the radii of each circle we need: 5, 9.5, 14, 17.5, 21, 24 and 26.5
After that, offset each circle (except the first one with 5 units radius) to the inside by 0.5 units.
Project those from front viewport to your base model.
Now, using line or polyline command, make two perpendicular lines. Helps if your End and mid options in Osnap are on.

Offset those lines by 0.25 on the each side, and delete the reference lines.
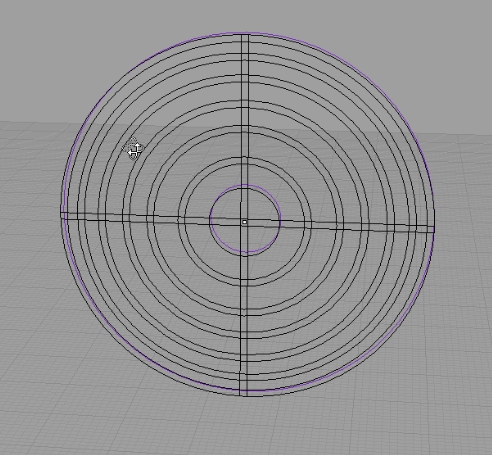
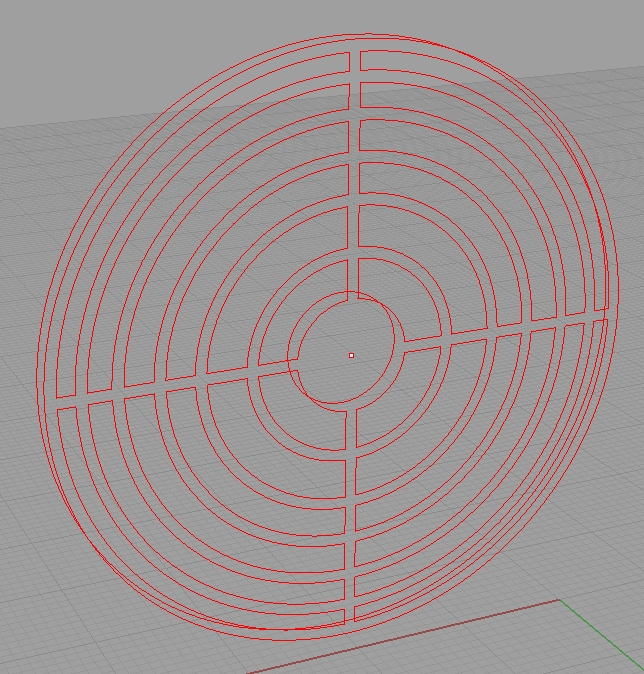
Now, with trim, trim off the little parts of lines and circles we don’t need. Then, extrude it.
Now, lets make little handles.
This closed curve now can be either revolved, or sweep1 railed.
Make two lines for trimming the handle.Extrude them and trim with the revolved/sweep1 railed surface.
Copy this part 3 more times, and rotate them by 45 degrees.
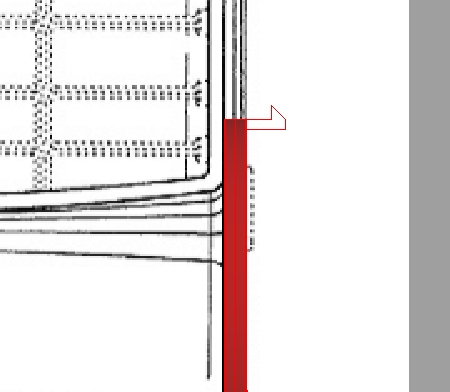
Note: you can see the slight difference in red and white models in this last part, but follow the red one ![]()
used 33 commands
Arc, BlendSrf, BooleanDifference, Circle, Copy, DupBorder, Explode, ExtrudeCrv, ExtrudeSrf, FilletEdge, Hide, InterpCrv, Join, Loft, Mirror, Move, NetworkSrf, Offset, PlanarSrf, PointsOff, PointsOn, Polyline, Rebuild, Rectangle, Rotate, Show, Spiral, Split, SrfPt, Sweep1, Sweep2, Trim


where are the blueprints?
sorry, forgot to include the link… thanks
Another excelent tutorial. Great job!
I had some troubles (image50) to fillet the edges of the circulator. I had to do the piece again and again… somehow it worked out.