
March 7th
Automotive, Beginner, Modeling, Tutorials
This article has been viewed 178986 times. You can leave a response, or trackback from your own site.

Modeling car rim


STEP 2
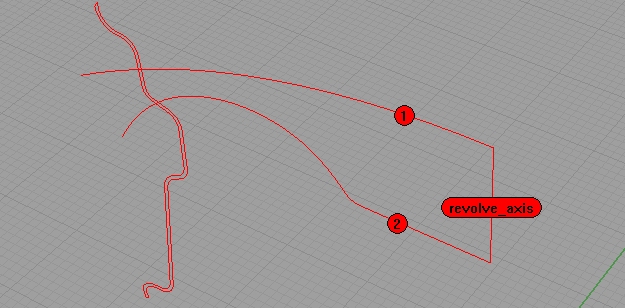
Using revolve command, revolve two curves, around the 3rd one, line, as revolve axis… Like on the image below:
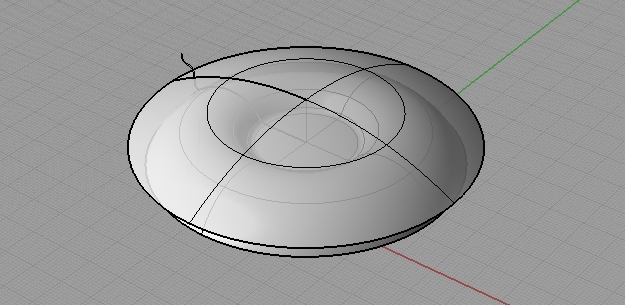
You’ll end up with this…
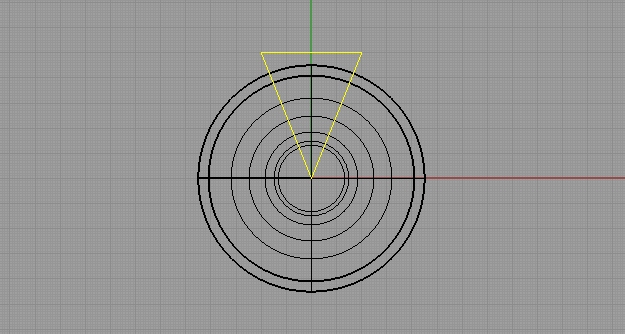
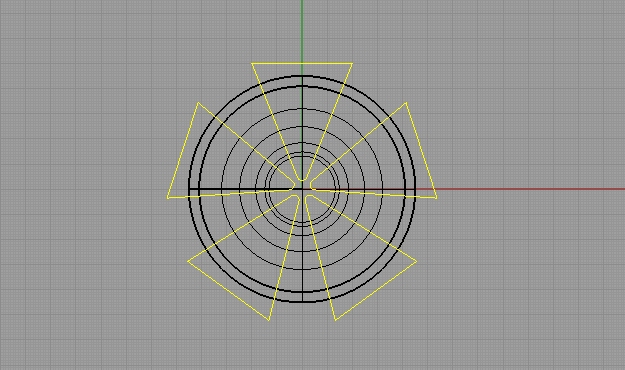
From the top view, make a triangle using polyline, like on the picture below. You can turn off Osnap, it will be easier.
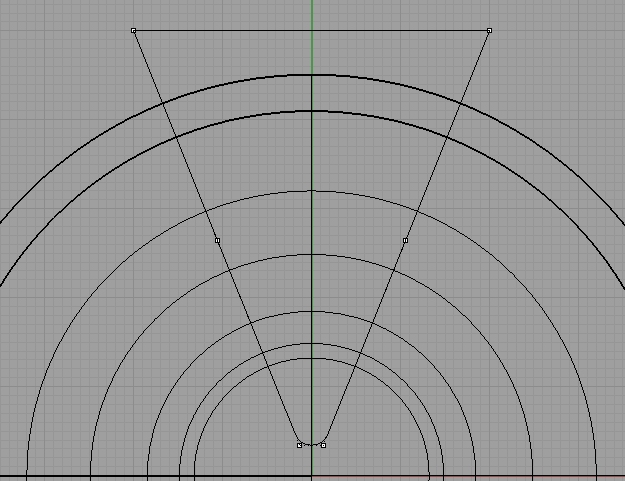
Fillet the sharpest angle with 2, and using Remove Knots, make that triangle one curve.
Using ArrayPolar command, array that triangle 5 times around the origin (that is, if you positioned the center of your object in the origin).
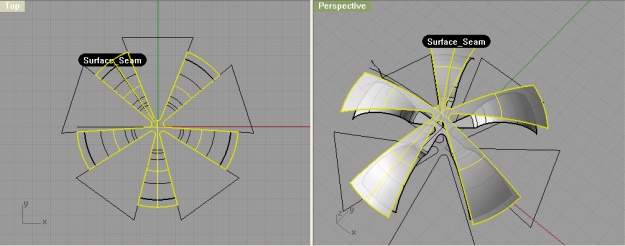
Using srfseam command, reposition the seam on both surfaces, so it is on the spoke… That means, it needs to be in between any two triangles. Trim those two surfaces with trim command using triangles.
Using polyline, connect edges of two trimmed surfaces. Refer to image below:
Do so for all 5 spokes.
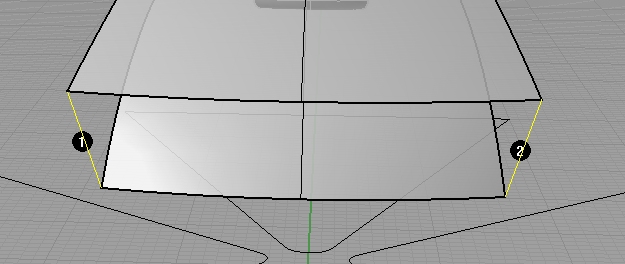
Using sweep2 command, as rails select two edges of two surfaces (1 and 2 on image below), and as cross section curves, select two lines (3,4 on image)

Do this for all 5 sections, and join surfaces.


I would really love to see some good tutorials on rendering. Im having a hard time finding good websites for rending tutorials.
yes, at this point there is no rendering tutorial on this site, but I hope to change that very soon. Thanks
Interesting method! How do you get the background image??? This would be useful to me!
Thanks,
Jack
Good job on tutorials, really helpful thanks!
A few nit-picks:
1. The video quality, really tough to see the lines, and text, and pretty much anything 🙂
2. The “screws” on the rim, are actually called lug nuts (at the very least bolts), and there are no bolts/nuts with 5 sides! Maybe on Mars. There are always 6 sides. That’s just too funny.
Again, thanks a great deal on the tuts!
Very nice tutorial, very well explained. Thank you
It’s an interesting and fast modelling solution. Great tutorial!
it is very good design
very good tutorial.
Thanks
Thank you!