
March 7th
Automotive, Beginner, Modeling, Tutorials
This article has been viewed 178985 times. You can leave a response, or trackback from your own site.

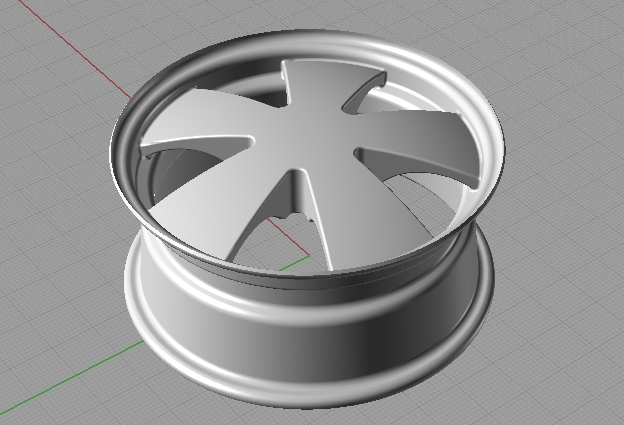
Modeling car rim


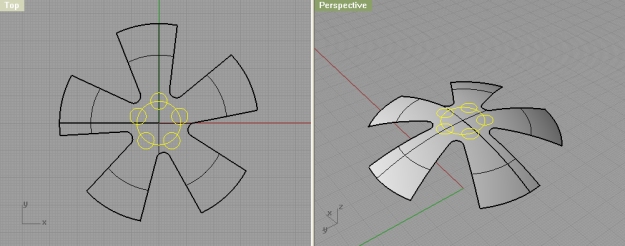
STEP 3
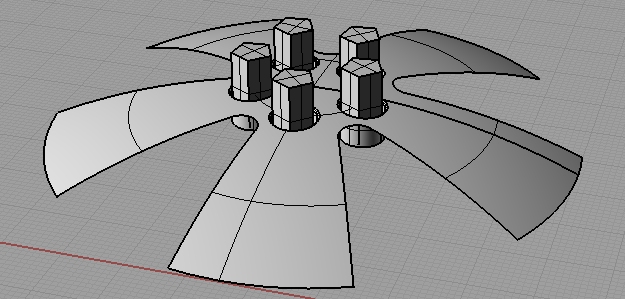
In this step we will connect two rim parts. At this point we only have spokes, but we need the main body.
So, select you first profile you created, and revolve around the same axis as before:
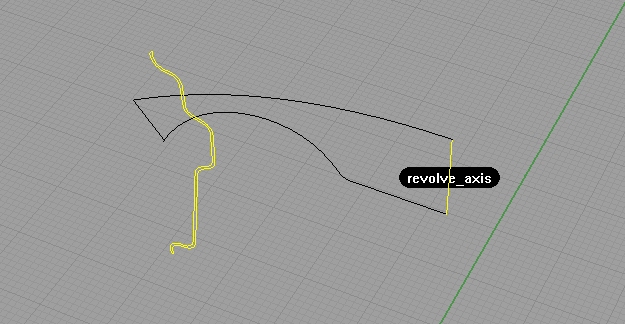
Note: I have hidden the spokes part to easily show you the step. After revolve, you can unhide using show command.
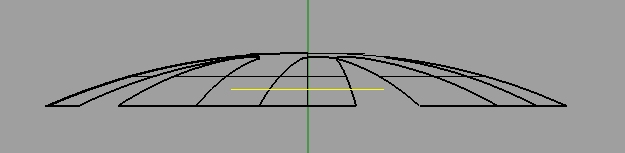
Next, explode that surface you got from revolving the curve, and select the inner one:

You can unhide (if you already didn’t) the spokes part, and hide everything but inner surface, and spokes…
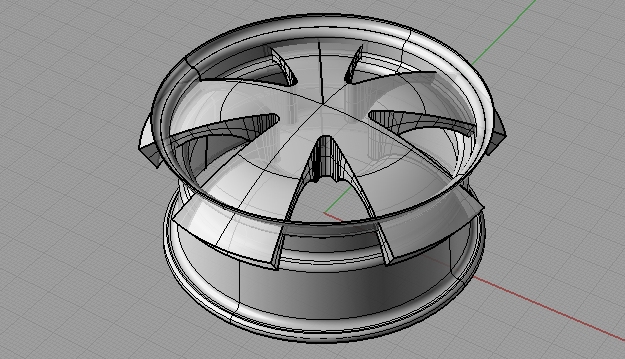
Now, using trim command, trim off part that go outside, and the connect parts on the base part (oh my god, how many parts).
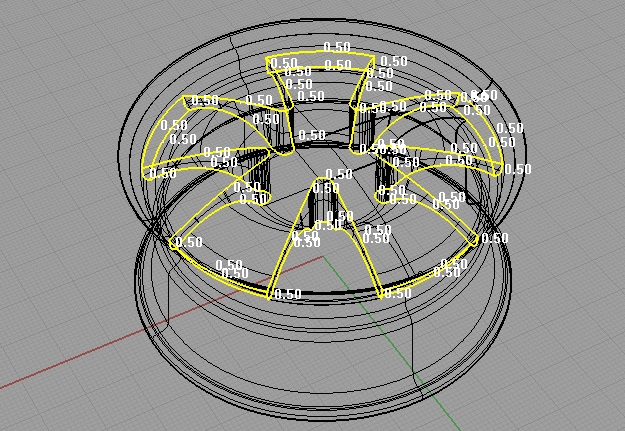
Join those two, and fillet the edges with 0.5 radius (filletedge command) .
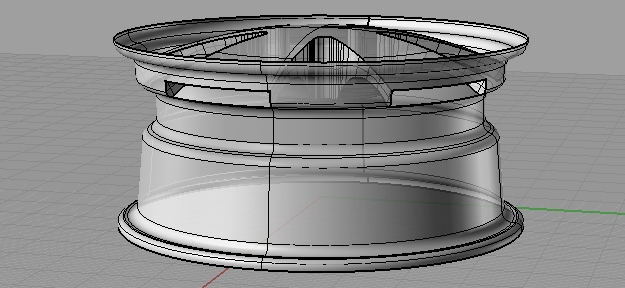
This will lead you to:
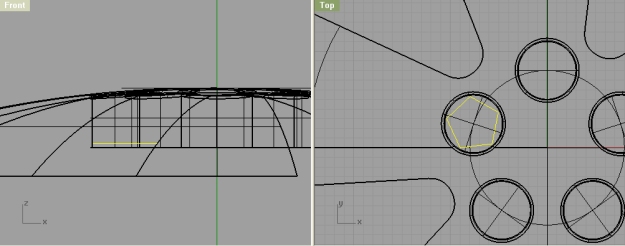
STEP 4
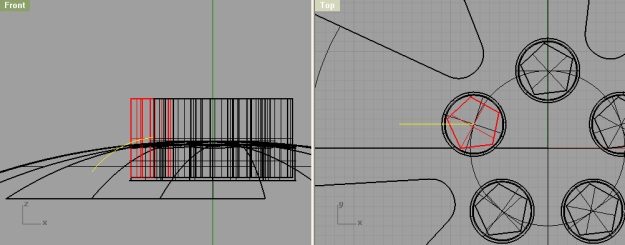
In this step, I will help you make holes for screws… lets go!
Explode the whole rim, and hide everything but the upper surface. Make couple of circles like on the picture below:
Check the normals direction with Dir command, and if they are directed downwards, using Flip command, flip them. Next, select five circles, and move them down a bit, like on the image:
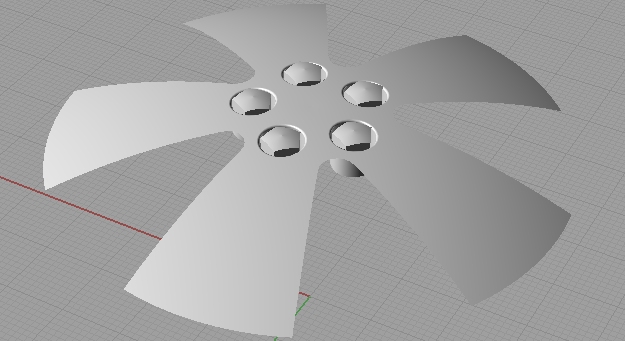
Using MakeHole command, make holes in this spokes surface with the circles:

Fillet the edges, I used the 0.3 as radius.
Next, we will create the screws. Using Polygon command, make one 5 sided polygon and move it to the bottom of one of five holes we just created.
Using Arraypolar, you can array that polygon to fit other 4 holes and then extrude them:
Don’t be afraid to exaggerate a little, since we will be cutting the upper part pretty soon. Like, now:
Create a curve like on the image below:
Position it in the center of the hole, and a little bit above your spokes surface… Next, revolve it, and trim with the screw.
Ok, this is it, now you can show other elements, and join your entire rim. And you are done!


I would really love to see some good tutorials on rendering. Im having a hard time finding good websites for rending tutorials.
yes, at this point there is no rendering tutorial on this site, but I hope to change that very soon. Thanks
Interesting method! How do you get the background image??? This would be useful to me!
Thanks,
Jack
Good job on tutorials, really helpful thanks!
A few nit-picks:
1. The video quality, really tough to see the lines, and text, and pretty much anything 🙂
2. The “screws” on the rim, are actually called lug nuts (at the very least bolts), and there are no bolts/nuts with 5 sides! Maybe on Mars. There are always 6 sides. That’s just too funny.
Again, thanks a great deal on the tuts!
Very nice tutorial, very well explained. Thank you
It’s an interesting and fast modelling solution. Great tutorial!
it is very good design
very good tutorial.
Thanks
Thank you!