
April 16th
Modeling, Moderate, Product design, Tutorials
This article has been viewed 208362 times. You can leave a response, or trackback from your own site.

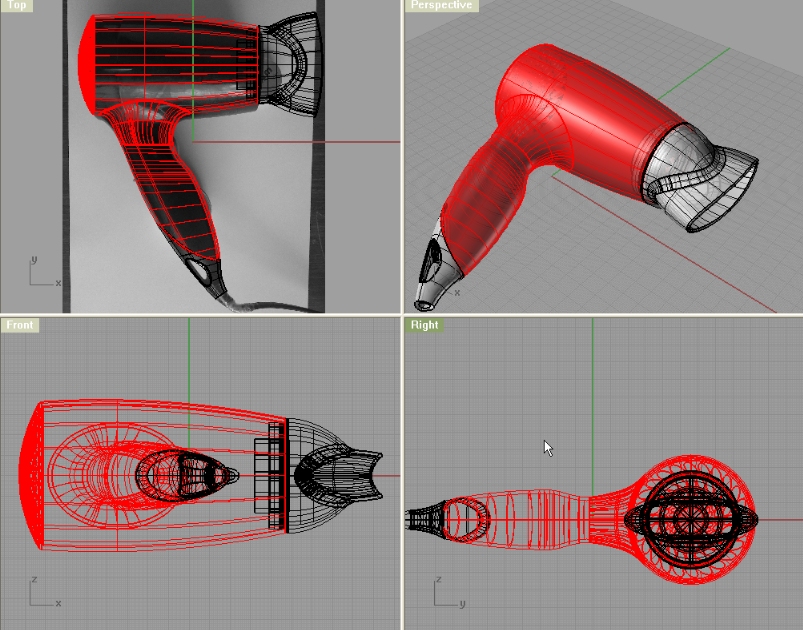
Modeling Rowenta Hair Dryer


STEP 3
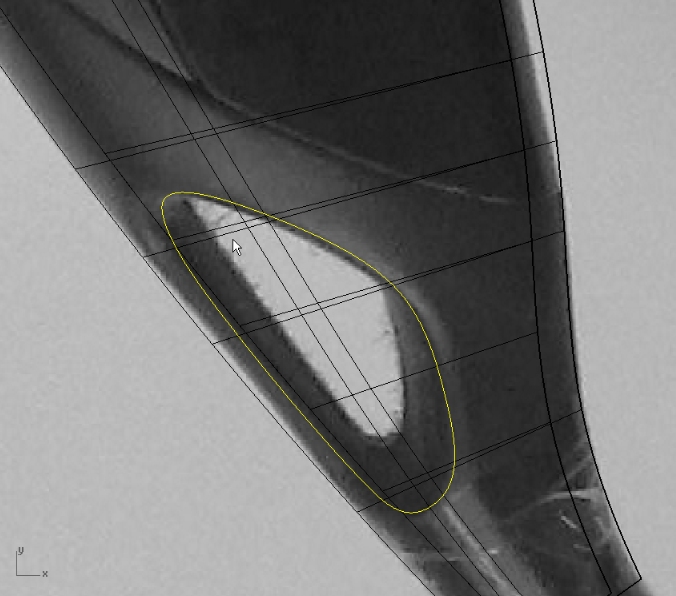
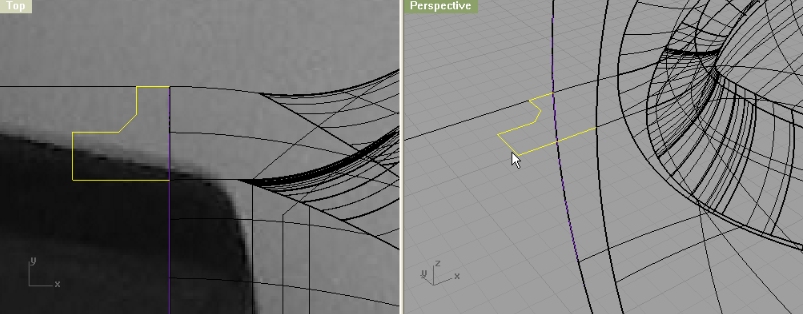
Now, lets make a little hole in the handle. For hanging the dryer on the wall or something.
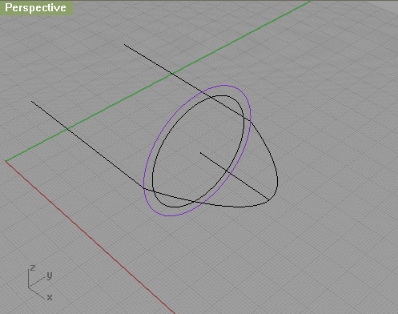
Create a closed curve like on the image below and trim what is inside:
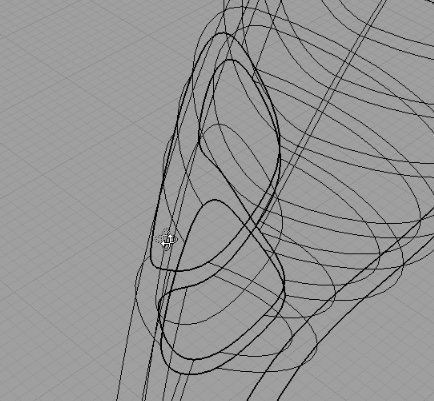
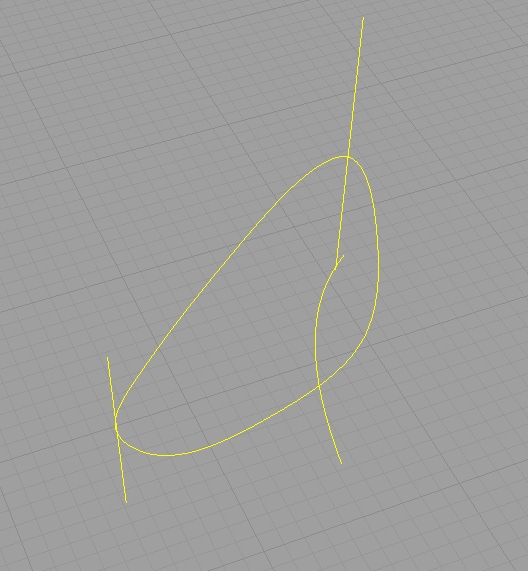
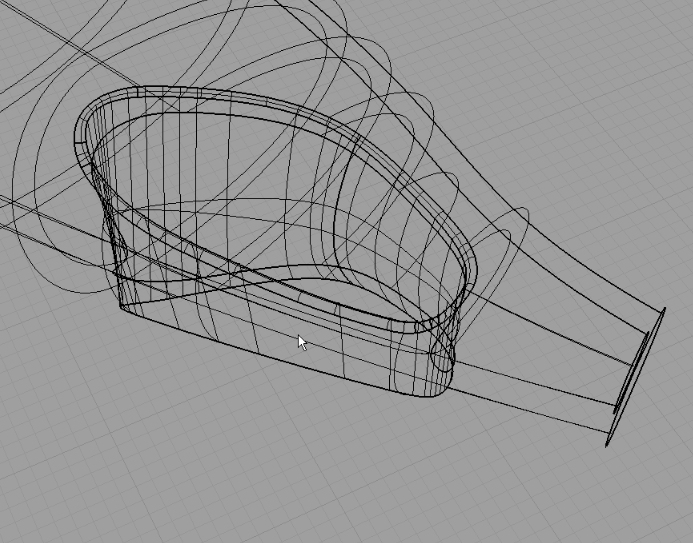
We will make three cross section curves, actually two lines, and one curve and using Sweep2 make a surface:
(don’t forget to use Closed sweep option)
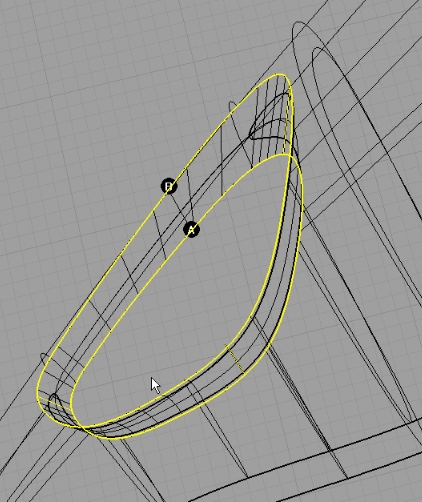
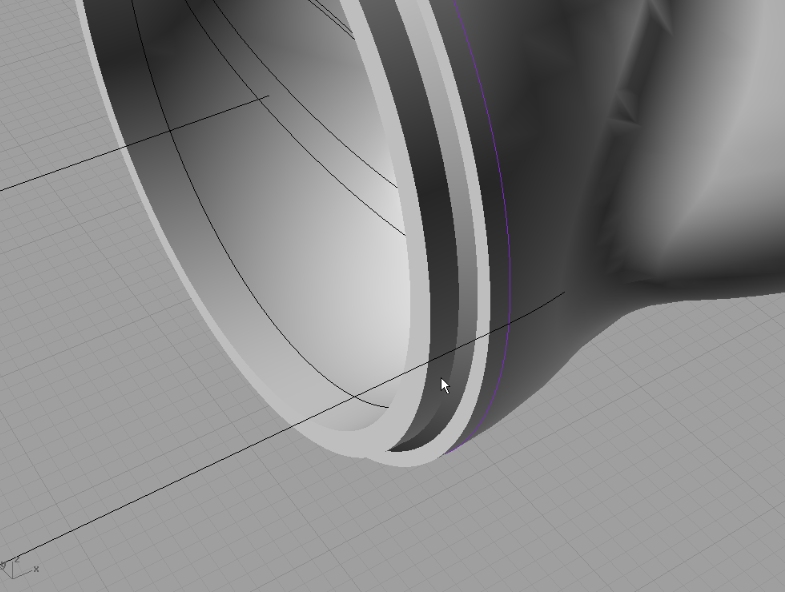
Join that surface with handle surface, and fillet the two edges with 0.5mm radius:
Next, lets create a curve for splitting the handle:
Offset that curve by 0.3mm, and trim off what is between two curves:
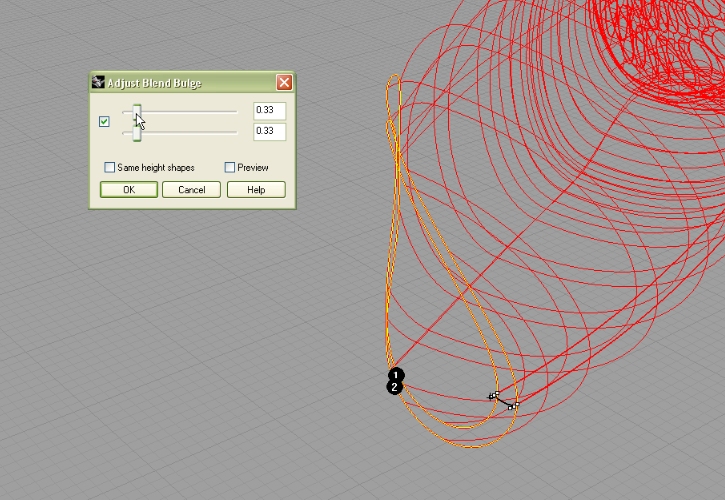
Now we need to blend the inner and outer shell surface (for both sides same settings):
STEP 4
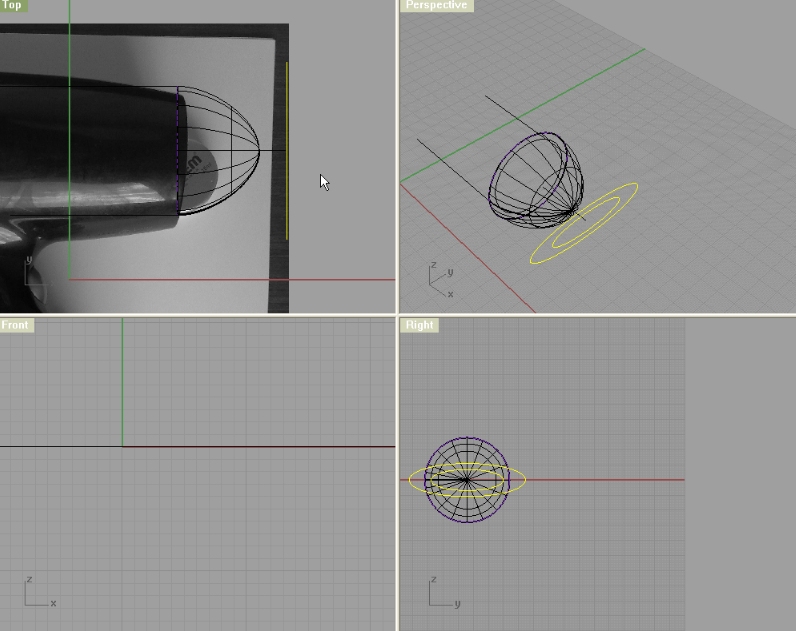
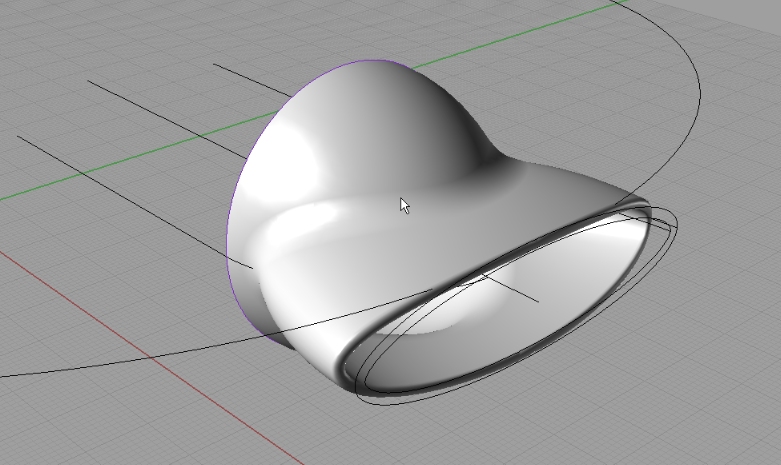
In this step we will be dealing with dryer cap that concentrates the hot air direction.
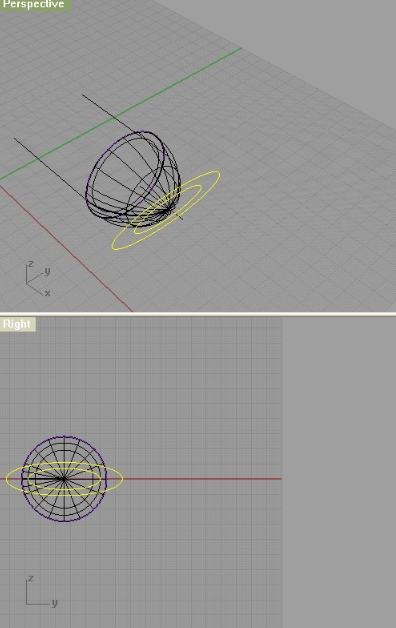
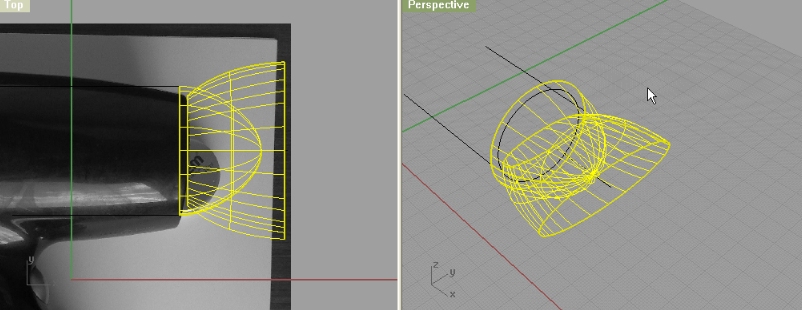
We will use outer circle of right side of our tubular part:
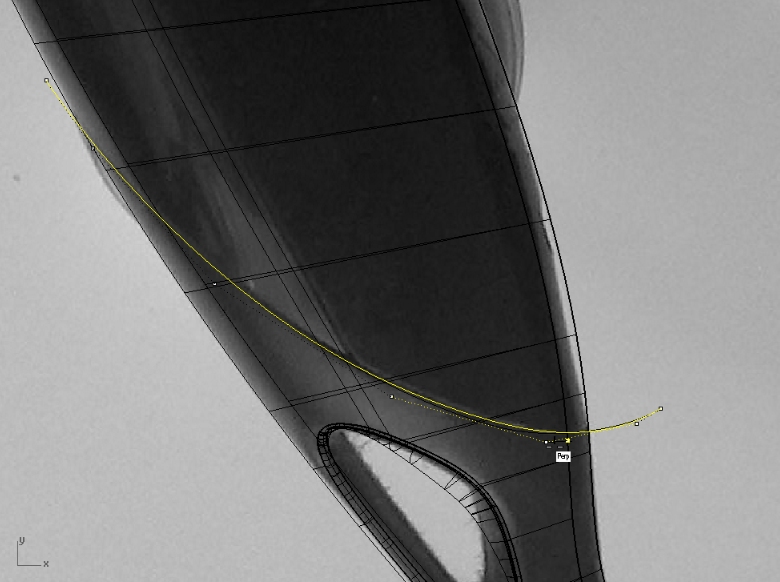
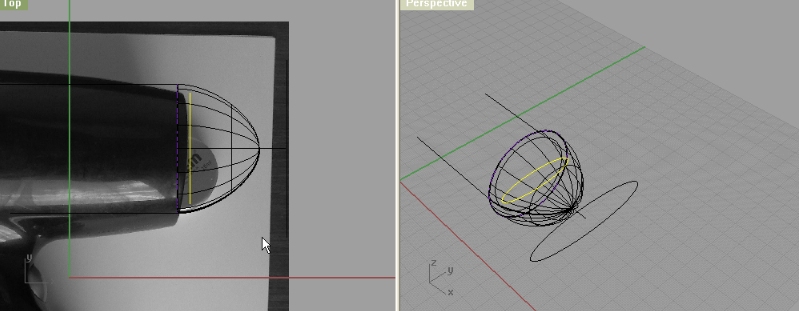
This circle needs to be offset by 4mm to the inside. From the center of this circle start a line 35mm long:
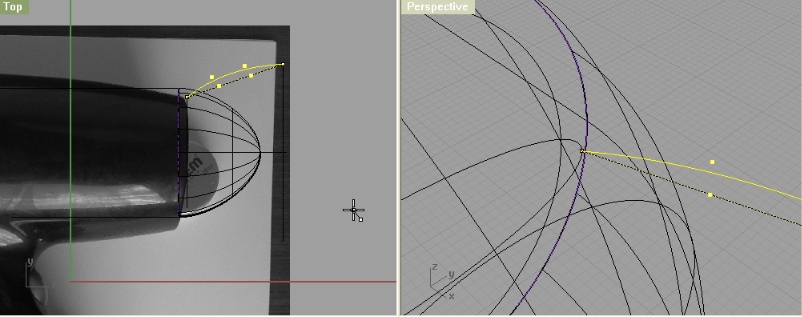
Again, using InterpCrv make a curve starting from one Quad point on outer circle, middle of it is in the end of line, and the end of this curve is in the opposite Quad point.
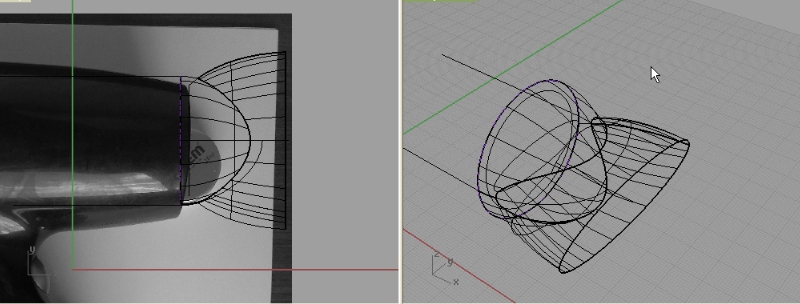
From the end and start make two lines. Having Ortho set to on helps!
Now, using Match, match the curve to both lines, and set the Continuity and Preserve other end to Tangency.
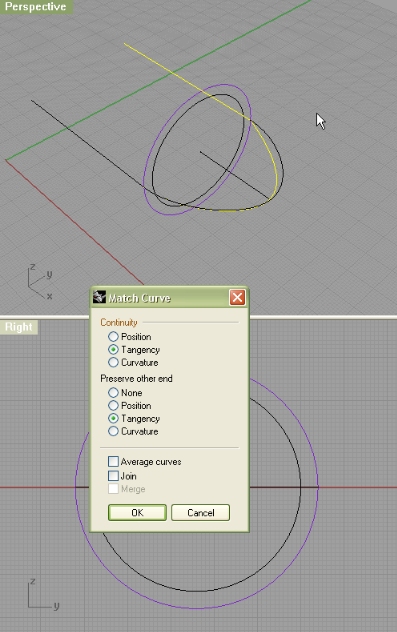
(Note: if you want to match the one end of a curve to the line, then you need to first click near the one end on the curve, then on the line)
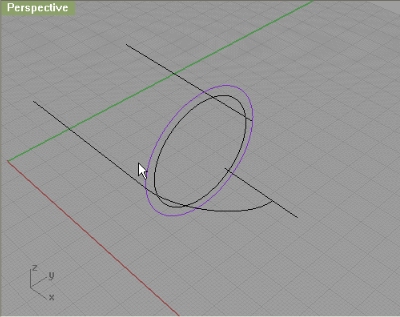
Using the line that is in the center (you might need to move it to the right a little - just so it crosses your curve (arch)) trim the curve.
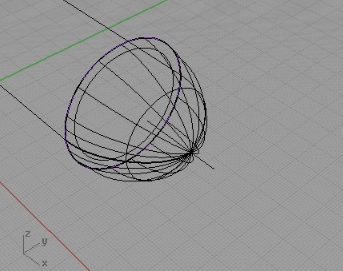
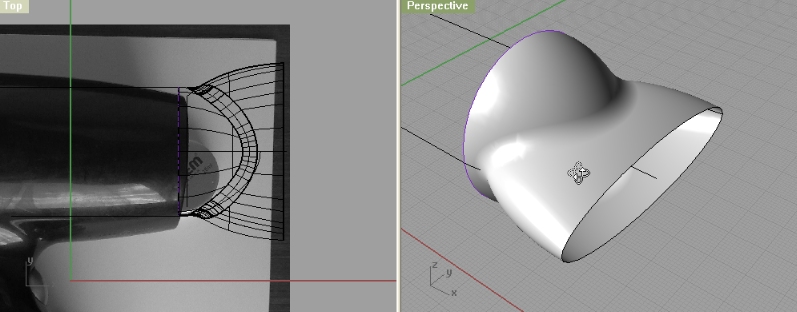
Use Sweep1 to rail revolve and make a cap.
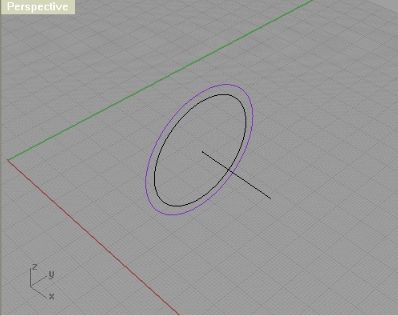
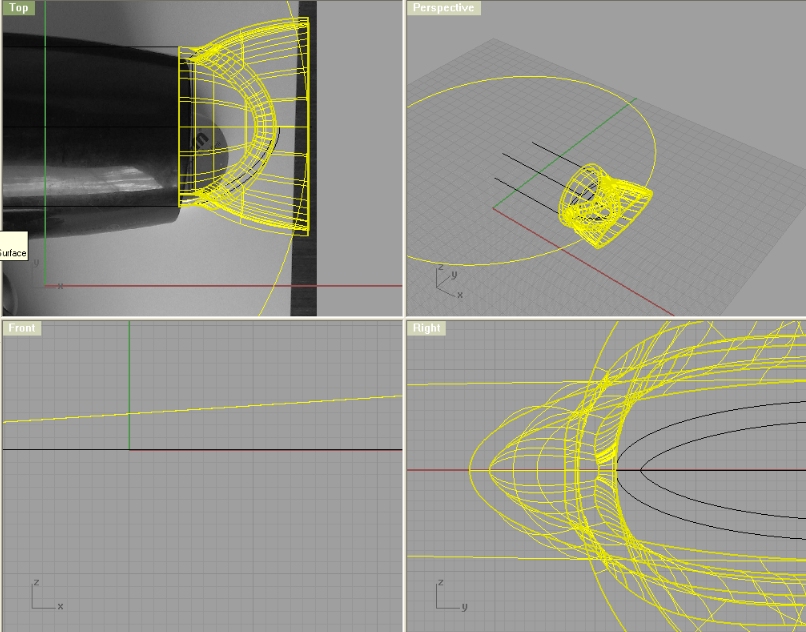
Next, make an ellipse. First end of axis is at 77m, and second at 22mm. (select Diameter from command options selection). And then make another ellipse, again use Diameter, and set 48x14mm. Position both centres of these two ellipses in the same point.
I have positioned the both centres of two ellipses to the center of our cap, and then I moved it to the right a little:
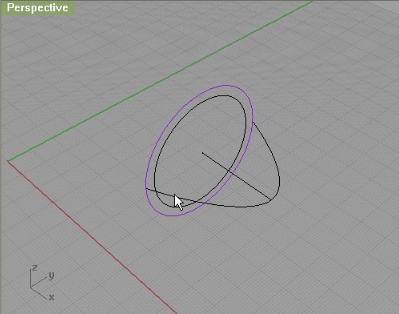
Now, move the inner ellipse for 42mm to the inside:
Using InterpCrv, create a curve between two coplanar Quad points on two ellipses. Now it seems like it is a line, but if you turn on the control points you will get two more cpoints in side this so called line, select two and move outside a little:
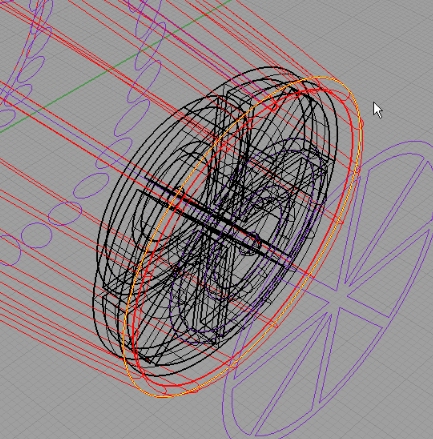
Using Sweep2 use two ellipses as rail curves, and one connecting curve as cross section.
Trim the parts we don’t need:
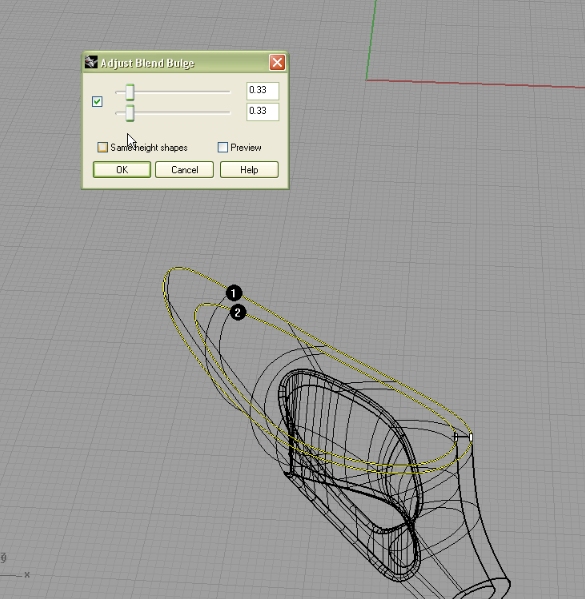
Now, we will make a fillet between these two surfaces… First I joined these two as I wanted to make a FilletEdge, but that didn’t turn out good, so I Exploded the mesh, and made a FilletSrf between these two surfaces. The radius was 10mm and everything went well. If you encounter problems with both FilletEdge and FilletSrf, try reducing od increasing the radius, and if that doesn’t work either, then try the pipe method.
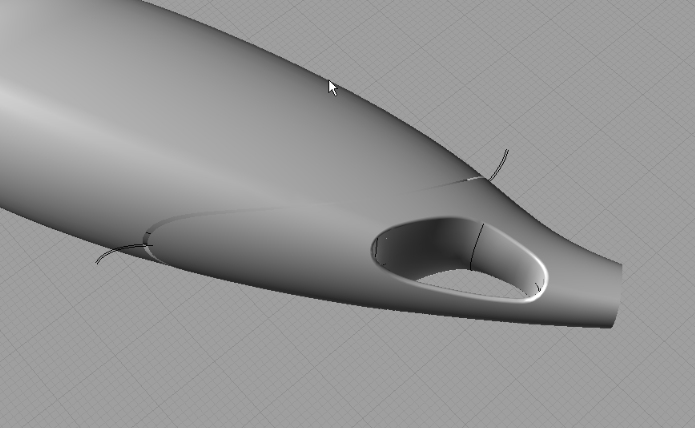
Now, using the same exact method we did before for shelling, we will make a shell for this dryer part.
Then, we will make one big circle from the center of our little part:
Still in the top viewport, we will Trim off the cap, so we get that round edge and BlendSrf the edges (you can either try JoinEdge command to join broken edges, or you can blend 4 time, and then join everything):
Now, on the back of this part, make a cross section curve like on the image below: Use polyline.
And using Sweep2, make a surface:
Then, you can fillet the edges.


nice example
can you make some changes to the model?
thanks
davide
Very interesting but unfortunatly I’m not that far advanced YET. With stuff like this to play with I’m getting better all the time. THANK YOU !
Gary Pullen
Amarillo Texas
I’m pretty sure if you follow carefully this tutorial you will be able to model this hair dryer. After all, you will notice that every model is made with 20 or so exact same commands. The workflow is pretty much the same for each model.
Check out gery’s try on this model:
http://www.rhino3dhelp.com/forum/index.php?topic=12.msg83#msg83
Modeling Rowenta Hair Dryer Video tuitorial troubles.
Step 4 video does not loadup into web browser (all [4] the other ones do.)
Can you fix?
gord
thanks. fixed
hi……not exactly relevant to the tutorial, but looking for advice - exactly how difficult is this programme to learn? Naturally this depends on a variety of factors, time, understanding etc….but to someone who has never used a 3-D modelling program?….any advice would be great.
Thanks in advance.
This tutorial rocks! Thanks to people like you helping us to get used to the techniques.
Thanks a lot. This tutorial really broke down many problems I was having. I really appreciate it! Oh, and I am a newb a rhino and was able to complete the tut. It took about 6-8 hours…thanks again!
this tutorial suck! i dont get anything from it..i tried many times…but as its not detailed explanation and not mentioning little details that lead you to mistake is totally skipped
[…] Modeling Rowenta Hair Dryer (9) […]
Very nice tutorial,
Kindly visit http://www.vaishnavs.com/hdri1.asp for HDRI Studio effects.
Interesting tutorial, although some steps are not totally clear. Nice job!
nice tutorial thanks! i made some modifications to my own model hehe.
please do show us your model…
Thanks a lot!! 🙂
It took 8 hours for me..It’s great tutorial! ^_^
very nice tutotial! thanks.
I just did your tutorial. Learned a lot, and thanks for that.
However, I noticed in some cases, your method will lead to surfaces that have no thickness- i.e. it looks like a solid but it’s actually just a surface infinitely thin. In particular, the way you constructed the ‘hole for hanging” and the groove in “speed controller (step5)” , will compromises the integrity of the solid. Checking naked edges will also reveal this.
Instead, I built individual solids and then booleaned them together. Not sure if this is the best way, but it worked in keeping the handle a solid, with 2mm thickness.
Please include diameters/sizes on the pics. In many cases it is not clear what you are really doing and such diameters would help a lot.