
April 16th
Modeling, Moderate, Product design, Tutorials
This article has been viewed 208359 times. You can leave a response, or trackback from your own site.

Modeling Rowenta Hair Dryer


STEP 5
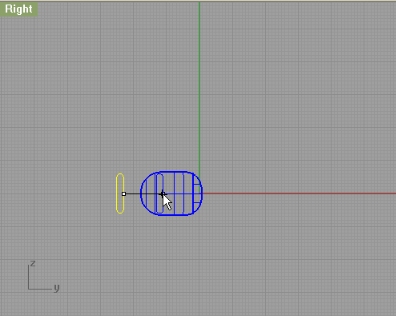
Start with ellipse in Right viewport. (Click on diameter option) and input for end of first axis 32mm, and for end of second axis 16mm.
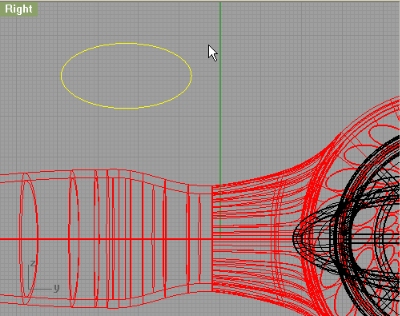
Now, using Rectangle (select Rounded option) make a rectangle (first length 20mm, and second 13mm, and center it in the center of our ellipse:
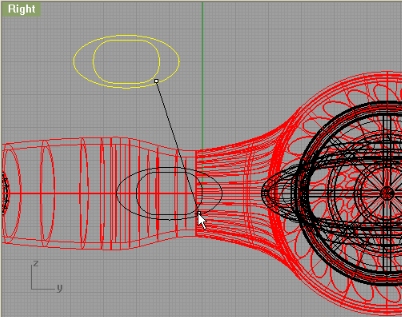
Rotate the two curves from top viewport, and extrude with no other extrusion options:
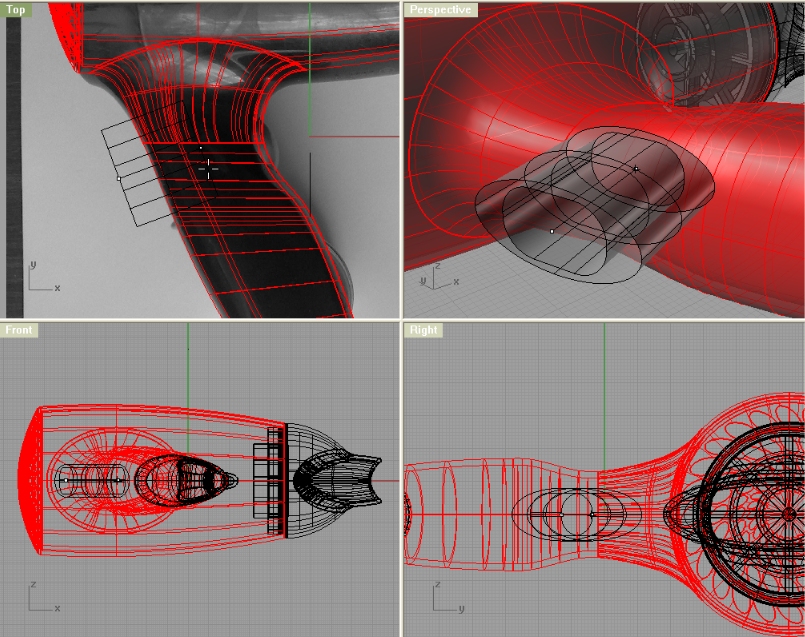
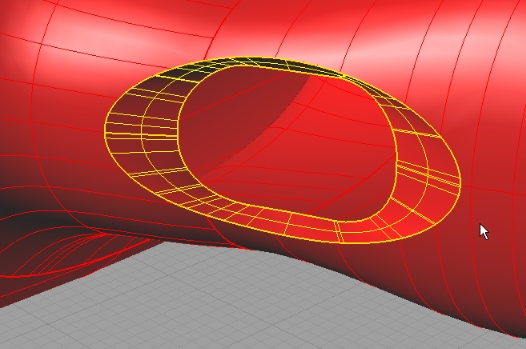
Trim the inner part of outer shell of our dryer with extruded ellipse, and split the inner shell of dryer with extruded rounded rectangle:
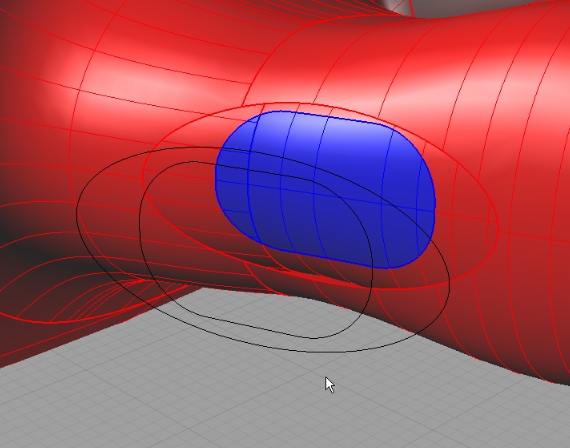
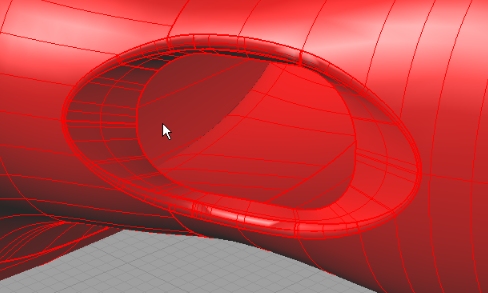
Loft the edges:
Fillet the Edge with 1mm radius.
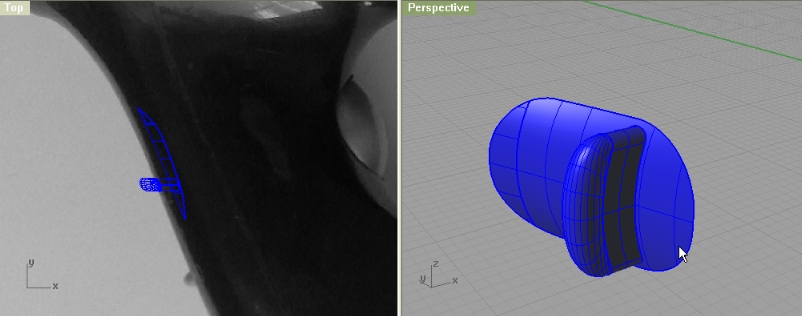
Now, create this little rounded rectangle, and position it like on the image:
Project it on the blue surface, and extrude that projected curve by 3mm (-3mm) and make a cap with Patch command.
STEP 6
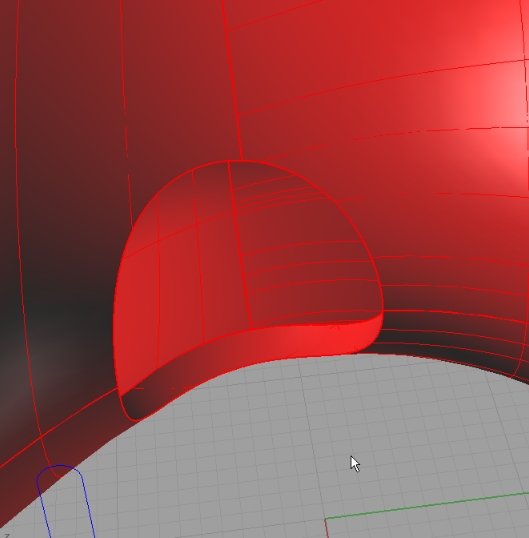
And for the end, we will make another button. The first one was for controlling the fan speed, and this one is On/Off button. So, create an Ellipsoid:
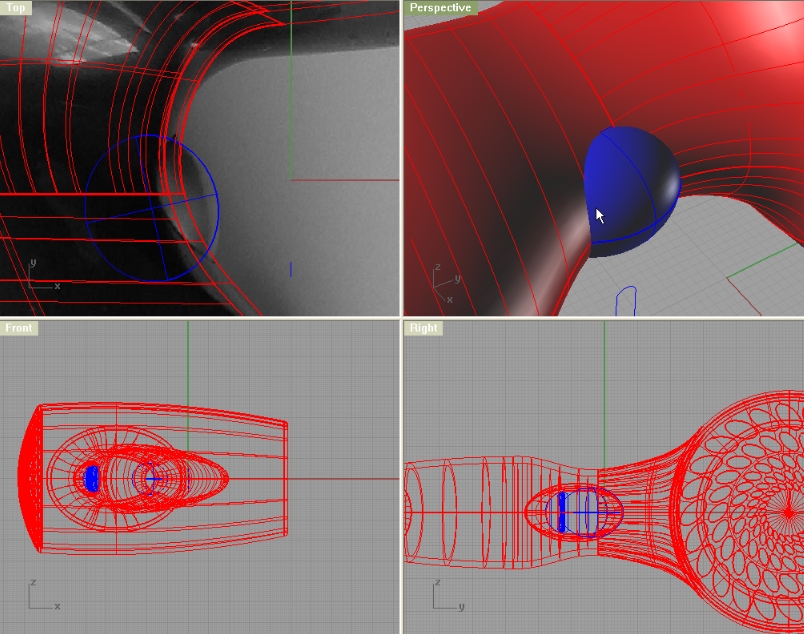
Offset that ellipsoid with OffsetSrf command by 0.5mm towards outside. With the bigger ellipsoid trim the handle:
Fillet the edges with 0.4mm, and you’re done!!!


nice example
can you make some changes to the model?
thanks
davide
Very interesting but unfortunatly I’m not that far advanced YET. With stuff like this to play with I’m getting better all the time. THANK YOU !
Gary Pullen
Amarillo Texas
I’m pretty sure if you follow carefully this tutorial you will be able to model this hair dryer. After all, you will notice that every model is made with 20 or so exact same commands. The workflow is pretty much the same for each model.
Check out gery’s try on this model:
http://www.rhino3dhelp.com/forum/index.php?topic=12.msg83#msg83
Modeling Rowenta Hair Dryer Video tuitorial troubles.
Step 4 video does not loadup into web browser (all [4] the other ones do.)
Can you fix?
gord
thanks. fixed
hi……not exactly relevant to the tutorial, but looking for advice - exactly how difficult is this programme to learn? Naturally this depends on a variety of factors, time, understanding etc….but to someone who has never used a 3-D modelling program?….any advice would be great.
Thanks in advance.
This tutorial rocks! Thanks to people like you helping us to get used to the techniques.
Thanks a lot. This tutorial really broke down many problems I was having. I really appreciate it! Oh, and I am a newb a rhino and was able to complete the tut. It took about 6-8 hours…thanks again!
this tutorial suck! i dont get anything from it..i tried many times…but as its not detailed explanation and not mentioning little details that lead you to mistake is totally skipped
[…] Modeling Rowenta Hair Dryer (9) […]
Very nice tutorial,
Kindly visit http://www.vaishnavs.com/hdri1.asp for HDRI Studio effects.
Interesting tutorial, although some steps are not totally clear. Nice job!
nice tutorial thanks! i made some modifications to my own model hehe.
please do show us your model…
Thanks a lot!! 🙂
It took 8 hours for me..It’s great tutorial! ^_^
very nice tutotial! thanks.
I just did your tutorial. Learned a lot, and thanks for that.
However, I noticed in some cases, your method will lead to surfaces that have no thickness- i.e. it looks like a solid but it’s actually just a surface infinitely thin. In particular, the way you constructed the ‘hole for hanging” and the groove in “speed controller (step5)” , will compromises the integrity of the solid. Checking naked edges will also reveal this.
Instead, I built individual solids and then booleaned them together. Not sure if this is the best way, but it worked in keeping the handle a solid, with 2mm thickness.
Please include diameters/sizes on the pics. In many cases it is not clear what you are really doing and such diameters would help a lot.